31 August 2012

the one... at the end of week 2

OK there are lots more changes at the end of week 2 so here are some photos.


We even have the first undercoat on 2 sides.


No, that's not the final colour... The painter added a little black to tint the undercoat.


30 August 2012

the one... with the hot water system moved

The hot water system has been moved. Done!

They were previously between the concrete tubs and the back patio - can you see the white underneath the patio on the left, yep that's it.


The plumber got to work and moved them to their brand new home beside the house on the East side.


I really want to do something with the old tyre rim which was used to hold the hose in a previous life.


The only downside is there was a casualty.


The old cement tubs didn't make it.  I was disappointed because I really wanted to reuse them in the yard - they were over 60 years old!


29 August 2012

the one... with the new screen door

This little diy project is now complete and I couldn't wait to share it with you.

Here it is before the makeover all taped up ready to be hit with the white semi gloss paint.


And here it is back where it belongs.

It was a little tricky trying to screw it back in place on your own but leaning it on the foot always helps.

Doesn't it look white!


It's funny, you don't realise how white it is until you compare it to the cream trim beside it.


I still have to replace the screen mesh but I'm liking it for now.

Next is choosing what colour to paint the front door... white... grey... aubergine... yellow... ??


28 August 2012

the one... with the eaves fixed

I mentioned in a previous post that before the painter could get to work there were a few things that needed repair, including replacing the damaged eaves.


Well I can tick this one done.


They've done a great job!

27 August 2012

the one... with the hot water on the move

Now that I have given the builders the go ahead on the deck there are a couple of things that need doing before they can start.
  1. Move the hot water system.  In its current location it would be right underneath the new deck.
  2. Cap the laundry plumbing until the new laundry is ready.
  3. Remove the 'smell' down pipe from the back otherwise it will be right beside the new back sliding door and go up through the new deck - the plumber is taking a look at this first because you must have at least 1 smell pipe (I have 2 - even for such a small place) and to remove 1 they need to be within 10metres of each other.
  4. Replace the other 'smell' down pip on the East side, it was falling down.
    replace the side down pipe - another 'smell' pipe

    down pipe on the far left
    possibly remove the 'smell' down pipe

    hot water system and old laundry plumbing
There is still time to get these done before the chippy starts waving his hammer.

24 August 2012

the one... giving new life to a screen door

In a different time I chose cream security screen door for the front door.  I got the security after I was broken into.  I ended up using the insurance money to get better security so prevent it from happening again (sorry to say it happened again a few years later).

Anyway, with the new paint colours chosen for the cottage, the window, doors and feature trims will be white and the cream security door just doesn't cut it!

I was thinking what I might do with it - remove and replace was what came to mind. Until I mentioned this to dear Dad, who suggested I remove the old mesh and spray paint the door white.

Now why on earth didn't I think of that??  Great idea Dad!

So this is the diy project I did last weekend.

I had to get moving on this before the painter started because I wanted it ready to re-hung when all the painting was done.


I got out my drill and took the door down and carried it out the back to get started.

I first gave it a hose down and a good clean with an old towel.  Nothing special here, just wiped every nook and cranny on both sides.  This took a little while and it didn't help things when Charlie decided he needed to sit on my lap.


Once it was all clean and dry I taped (don't you just love that I have purple tape!) up the handle and hinges then I got out the spray can and had some fun.

This is what I used.  The women at Bunnings said I should only need 1 can but I grabbed a second, just incase (glad I did).


I've given both sides a coat of paint and popped it out of the way in the garage while the painter is still working on the house.  I did keep a bit left in the can just incase there is a need for any touchups.

I think it's looking good.


What do you think?
 
Lisa xo

23 August 2012

the one... at the end of week 1

The first week of prepping has come to an end and I'm amazed at just how much 2 guys have done.

The East side of the house is almost ready for the first undercoat before they fill the gaps and then give it another sand before another undercoat is put on...


Wow it's a process.


22 August 2012

the one... with the yummy desert

I seem to make this dessert in Winter only.  There is something warm and cozy about it.

I originally saw Maggie Beer making it on The Cook and The Chef a few years back and it looked yummy.

Here is a link to the recipe for Golden Syrup Dumplings incase you want to try it.  It's simple.


If you love golden syrup, then you will love this.


Subscribe via RSS and never miss a post.
You can find me on Facebook | Pinterest

21 August 2012

the one... with the shutters

I just love plantation shutters.  So clean and fresh looking.


photo source
I had a guy come out from Victory Blinds to give me a quote for the large front bedroom window and while he was there measuring I asked for a quote for the other bedroom window and the 2 in the lounge.

I figured that the large window faces the street and so does one of the lounge windows.  To me it would look odd if they weren't the same.

I did get a bit of a suprise when he told me the price but then he told me the deal for the day.  I was honest with him when I told him I don't make on the spot decisions, I like to think about it before committing.

This was on Saturday so the family was all there so I called upon my mum to let me run through everything about the shutters and price - there is something about saying it all out loud that helps make it clearer.

In the end I took the deal and paid the deposit for all 4 shutters.

As I don't have a great deal of room for big flowing curtains, I think the shutters will be a nice clean and tidy option.

It will take 8 weeks for them to be made before installation so I have some work to do before then - I have to completely paint both rooms, that's walls, ceilings and window frames.

I had better get started.

20 August 2012

the one... with day 1 and 2 of the painter

I still can't believe the painter is here and working on my little cottage.

It's so nice to hear him say that the cottage is going to look great when it's finished.


I've been out there taking lots of pics to share with you.


Let us start with day 1 shall we...


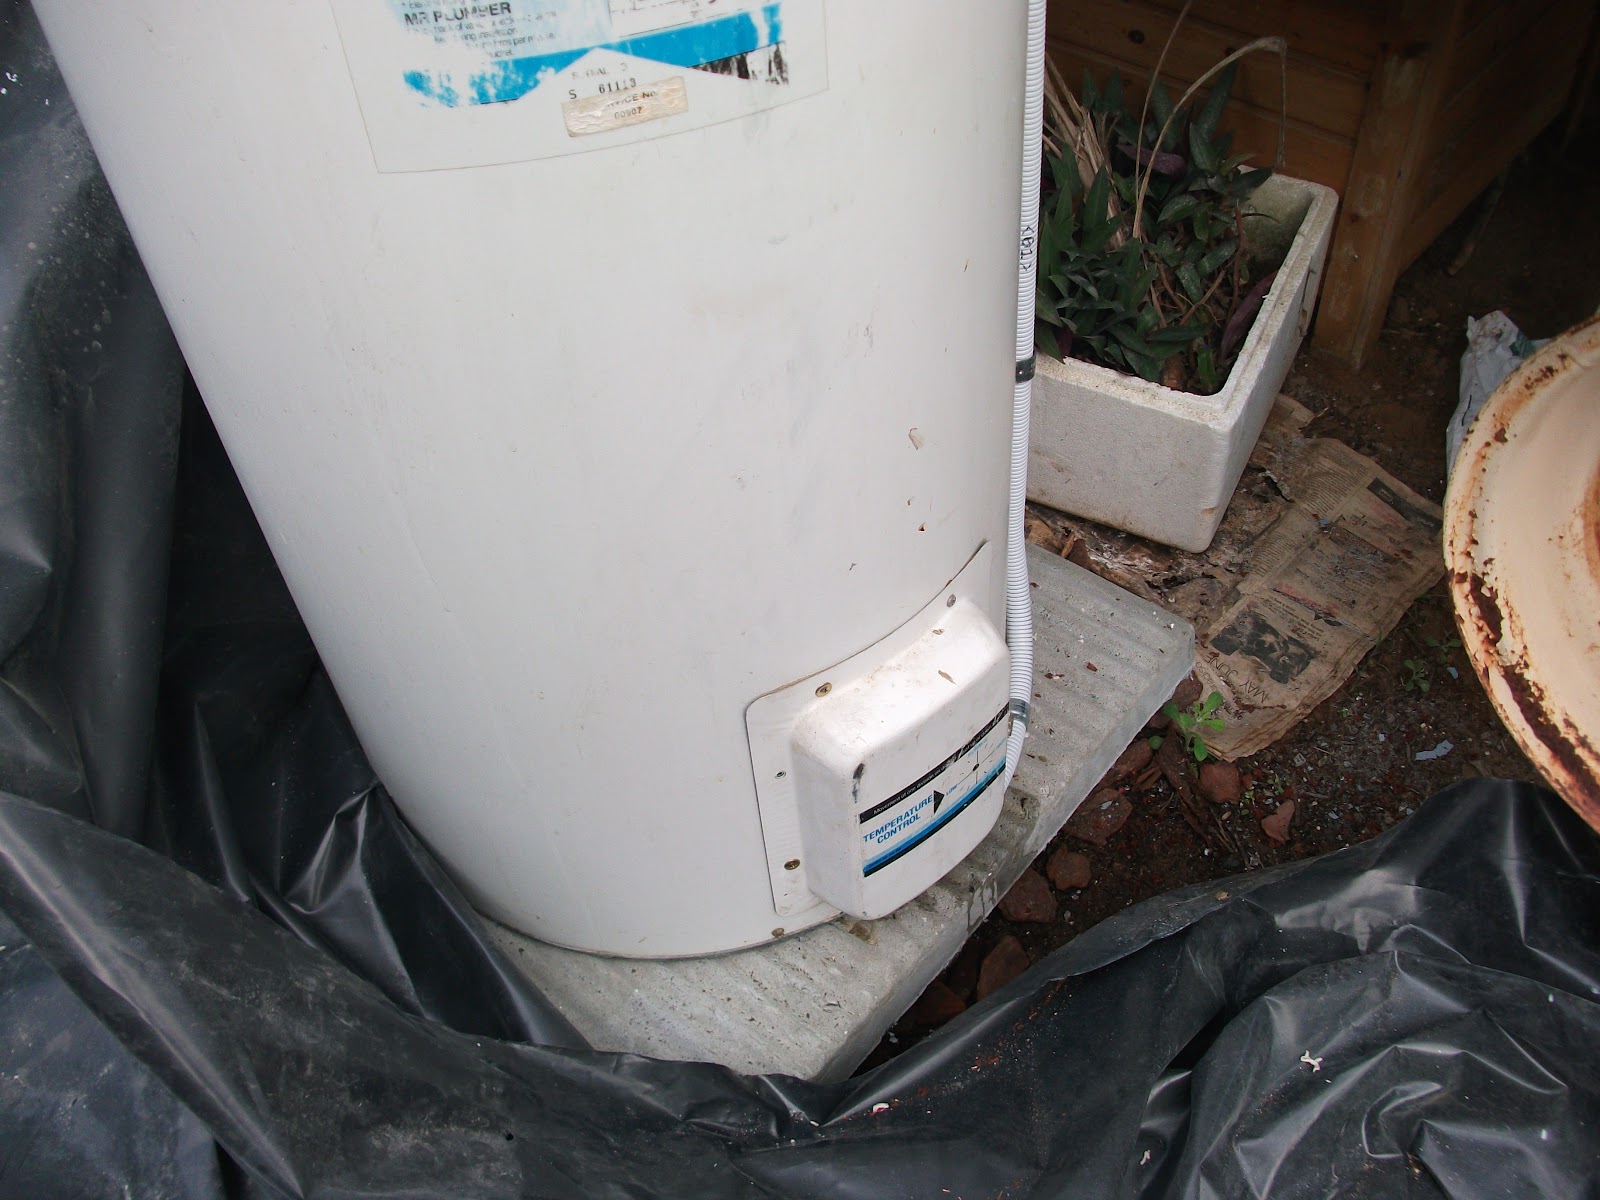
The painter has screwed big sheets of black plastic to underneath the house to catch all the paint scrapings.  There is still a lot of mess but it is much better than I first thought it would be.

Some of it is getting inside so the house is in need of a good clean so guess what I did this past weekend?

I'm happy to say it wasn't all cleaning, there was a diy project which I'll share with you soon.


Then straight onto day 2...


The painter has found a few pipes and pieces of timber that need replacing before he can paint so I had better get onto those.


It's moving along so quickly.


Lisa xo

17 August 2012

the one... with lovelies on etsy

More lovelies from Etsy.  This week I've selected pieces from people in Tasmania.

shop source
shop source

shop source

shop source


Subscribe via RSS and never miss a post.
You can find me on Facebook | Pinterest

16 August 2012

the one... with the colour has been chosen

The decision has been made...

After going through many, many paint charts over the past couple of months I had gotten it down to just 2 options - the 2 you can see here.


I've decided to go with the lighter grey (bottom) in the photo.

It probably doesn't show up in the photo but in 'real time' the lighter grey feels warmer.  They are both warm greys but the darker just feels dark and cold particular at the front of the house where it doesn't get any direct sun light because it faces the South and the last thing I want is for the cottage to look/feel cold from the front street.

It's funny how the houses around you play into this decision process as well.  I have a cream house one one side and a cream hall on the other side with a white directly across the road so I really wanted the cottage to stand out.  Which I think it will because it's cute!

The painter has started prepping this week and it will take him a week or more to get this done before he can start painting. So now that the colour has been selected it's now onto what will be painted in the grey and what will get the white feature.

I came across this photo (sorry I don't know where I found it) and I like the idea of the white trim on the corners.

I think it's time to bring the sample pots and paint brush back out and have a play with the features.

AddThis

SHARE
Related Posts Plugin for WordPress, Blogger...